Create Your Own Backyard Golf Course with an Artificial Putting Green
- 2023-04-20
If you’re a golf enthusiast, you’ll love having a backyard putting green to improve your short game and enjoy the convenience of practicing from the comfort of your home.
In this ultimate guide for backyard putting greens, we’ll explore the benefits, turf recommendations, installation steps, and maintenance tips to help you create the perfect putting green in your backyard.
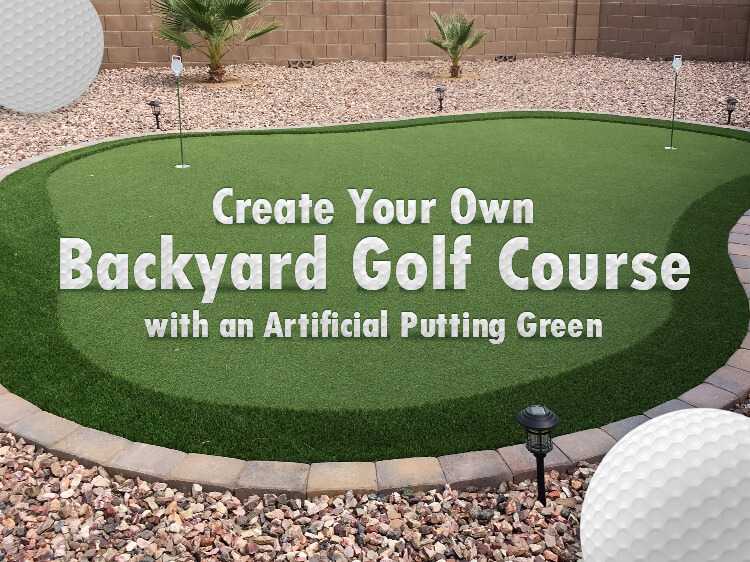
Table of Contents
Toggle- 5 benefits of having an artificial putting green in your backyard
- Backyard putting green turf recommendations
- How to make an artificial putting green in the backyard?
- DIY vs. professional installation for a backyard putting green
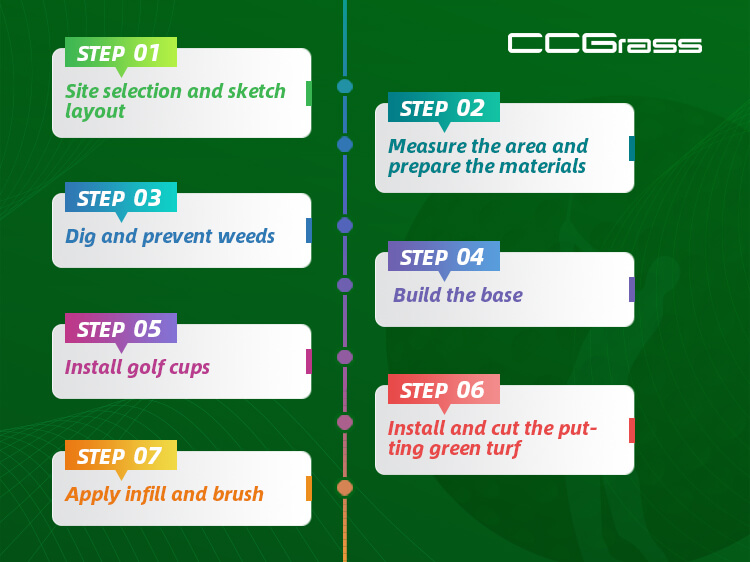
- Step 1: Site selection and sketch layout
- Step 2: Measure the area and prepare the materials
- Step 3: Dig and prevent weeds
- Step 4: Build the base
- Step 5: Install golf cups
- Step 6: Install and cut the putting green turf
- Step7: Apply infill and brush
- How to maintain the backyard putting green?
- CCGrass’s backyard putting green installations
- Conclusion
5 benefits of having an artificial putting green in your backyard
Low-maintenance & eco-friendly
Artificial grass putting greens offer a perfect putting experience year-round without the maintenance required for natural greens. They don’t need watering, mowing, or fertilizing, and have no mud or puddles.
This not only saves you money but is also environmentally friendly since it eliminates the need for chemicals and irrigation. The only upkeep is occasional brushing to keep the blades upright and remove debris. You’ll have more time to focus on having fun and honing your golf skills.
Superior performance
Our putting greens are made from a premium UV-resistant synthetic material for superior resilience and durability. Featuring texturized monofilaments and dense stitching, the greens deliver true and consistent putting conditions, comparable to professional golf courses.
Convenient backyard golf practice
Having an artificial putting green in your backyard offers convenient access to practice your game anytime. Enjoy playing golf regardless of weather or time of day by simply grabbing your putter and walking onto the manicured green. No need to drive to a driving range, wait for your turn or follow dress codes.
Increase home value
A well-maintained, high-quality backyard putting green can increase your home’s appeal and value, attracting potential buyers looking for a property that offers both style and functionality. By investing in an artificial turf putting green, you’re not only improving your quality of life but also increasing the sale price of your home in the long run.
Enjoyable for the whole family
Artificial grass-putting greens are not just for golf enthusiasts. They can be a fun and enjoyable activity for the whole family, especially for children who are learning to play golf. Furthermore, the green can serve as a versatile space for various outdoor activities, such as games and picnics.
Discover more benefits of artificial grass putting greens on our Putting Green page.
Backyard putting green turf recommendations
FastPro HF – CCGrass advanced putting green turf
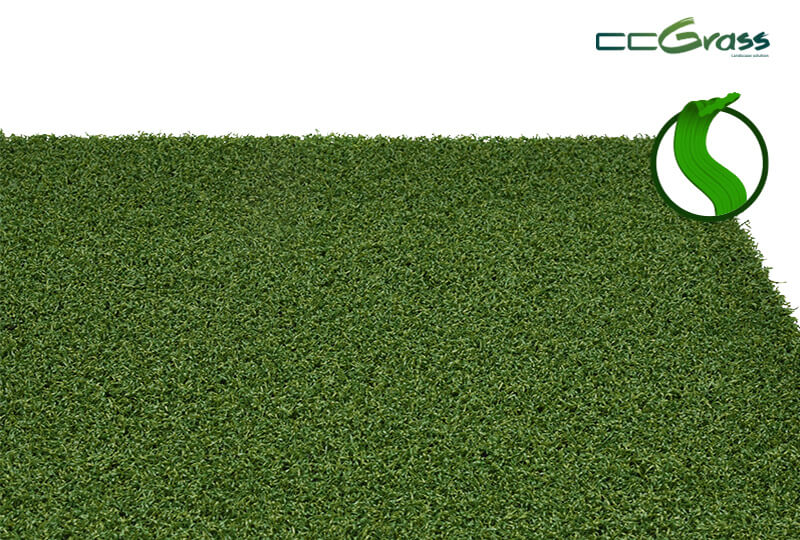
CCGrass’s FastPro HF is an advanced and best-selling putting green turf that is the ultimate solution for professional and amateur golfers.
FastPro HF belongs to our high-performance professional sports product, made of 100% PE curly monofilament. With its smooth surface ensuring great playability, golfers can enjoy a top-quality playing experience that is sure to elevate their game.
Golf Putting Mat – CCGrass innovative putting green mat
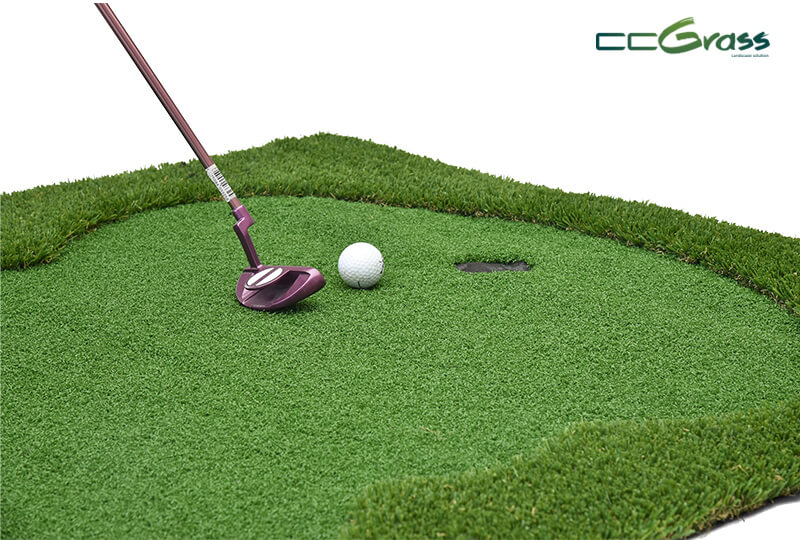
CCGrass Golf Putting Mat is ideal for those who cannot dig up their yard or are looking for a more convenient option. The Golf Putting Mat is highly portable, so you can enjoy a realistic golf course experience wherever you go. Simply move it to different locations and practice your putting skills at home, in the office, or on vacation.
Stemgrass EX2 – CCGrass recommended fringe turf
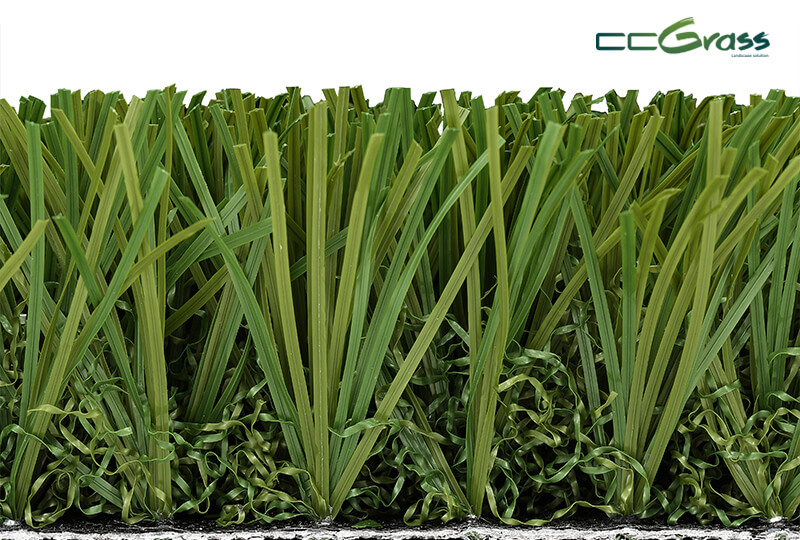
Experience an unparalleled natural foot feel with Stemgrass EX2, a FIFA-certified product with super wear resistance and excellent standing ability. When paired with the Fastpro putting green surface, the Stemgrass EX2 fringe reaches its full potential by offering stability, and protection, and helping keep the ball on the green.
How to make an artificial putting green in the backyard?
DIY vs. professional installation for a backyard putting green
When it comes to installing a backyard putting green, you have two options: a DIY project or hiring a professional. While a DIY installation can save you money and provide more customization options, it can be time-consuming and require specific skills.
Hiring a professional may be more expensive, but it provides expertise, time-saving, and a warranty for the installation. To make the best decision, consider your budget, time, and level of comfort with the necessary tasks. Both options have their pros and cons, so weigh them carefully before making a choice.
Whether you choose to DIY or hire a professional, it’s important to become familiar with the installation process in order to ensure the success of your backyard putting green. Keep reading to learn the specific steps involved in installing an artificial putting green and how to maintain it for long-lasting enjoyment.
Step 1: Site selection and sketch layout
The first step is to choose a suitable location for your putting green in the backyard. Look for a relatively flat area that is well-drained and free from obstacles such as trees or rocks. Sketch out the layout of your putting green and determine the size and shape you want it to be.
Step 2: Measure the area and prepare the materials
Once you have decided on the location and layout of your putting green, you will need to measure the area and prepare the necessary materials.
Material list:
● Putting green turf
● Golf cups
● Carpet Knife
● Shovel
● Hammer
● Pins or nails
● Grass brush
● Quartz sand
● Weed barrier (optional)
● Sub-base material
● Roller or vibrating plate for compacting (both can be hired)
Step 3: Dig and prevent weeds
Dig out the area to a depth of around 3-5 inches and remove any weeds or other debris. After leveling the surface it is recommended to install a weed barrier fabric to prevent future weed growth.
Step 4: Build the base
A stable and durable putting green requires a solid base layer. To achieve this, pour crushed rocks into the excavated area and evenly spread them out using a shovel. Afterward, lightly moisten the rocks with a garden hose and run a compacting machine over them to create a smooth, flat base.
Step 5: Install golf cups
Remove the crushed stones from the places where the cups will go. Use a special hole cutter or a shovel to make holes for the cups. Then, compact the rocks around the holes with a hammer, being careful not to hit the edges of the cups.
Step 6: Install and cut the putting green turf
Roll out the putting green turf and let it sit in the sun for a few hours to flatten out. Cut the turf to the desired shape and size with a carpet knife. Lay the turf over the base and ensure it is taut and level.
You can use U-shape nails to secure the edges of the turf or follow the turf manufacturer’s instructions. Next, use your hand to press down on the lawn to find the cups and use a carpet knife to cut out the holes.
Step7: Apply infill and brush
Proper infill is essential for your backyard putting green, as it helps lift the grass fibers and resist wear from foot traffic. Silica sand is an excellent choice for this purpose. Use a grass brush to work the infill deep into the grass fibers, ensuring even distribution.
How to maintain the backyard putting green?
Artificial putting greens require regular care to ensure optimum performance and longevity. Here are some tips for maintaining your backyard putting green:
Keep it clean
Remove any debris such as leaves or sticks from the surface of the putting green. This prevents them from getting trapped in the turf fibers and affecting the ball’s roll. You can use a hose to wash off any dirt or grime from the surface, which will keep your putting green looking fresh and clean. If there are any stains or marks, simply clean them with mild detergent and water.
Regular brushing
Regularly brushing the putting green not only prevents the fibers from matting and keeps them upright, but also helps redistribute the sand infill and maintain a level surface.
Top up sand
Over time, the sand-filled putting green may lose some of its sand due to natural wear and tear. It is important to top up the sand periodically to maintain the desired level of sand on the surface.
Keep pets off your putting green
To maintain the putting green’s appearance and scent, it’s best to keep pets off since the surface isn’t pet-friendly and doesn’t drain as well as pet turf. If your pets happen to use the green surface as a toilet, promptly pick up any waste and rinse the area with a garden hose.
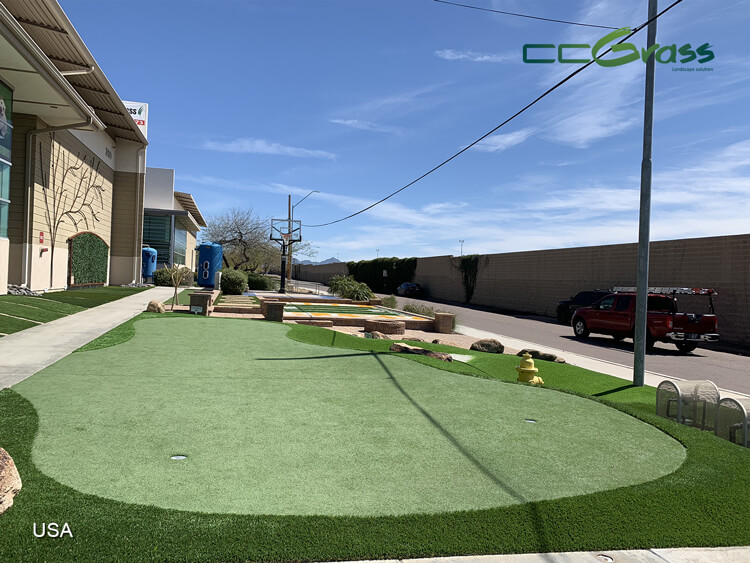
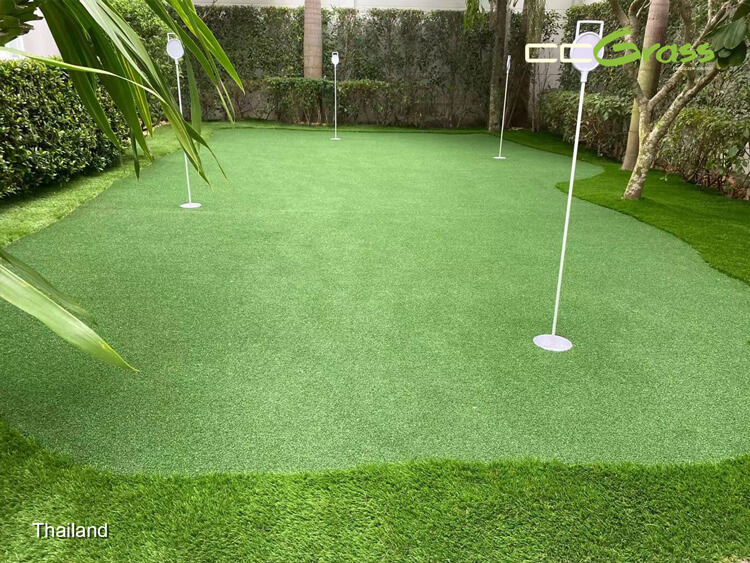
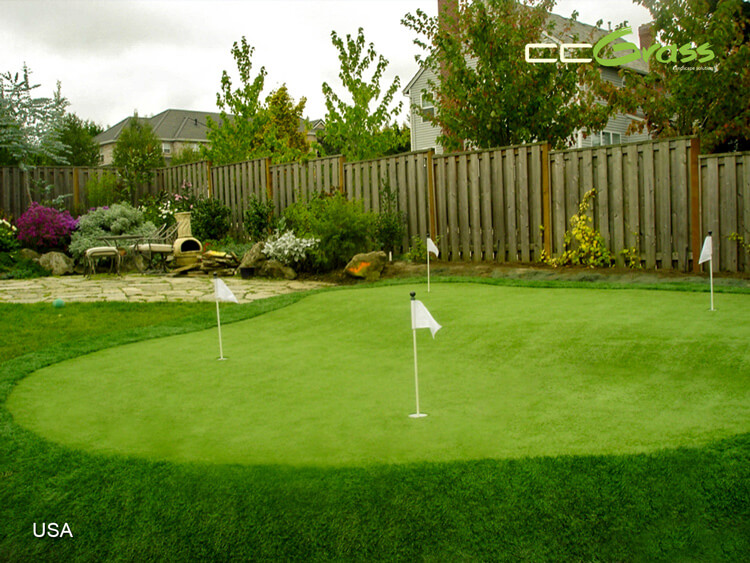
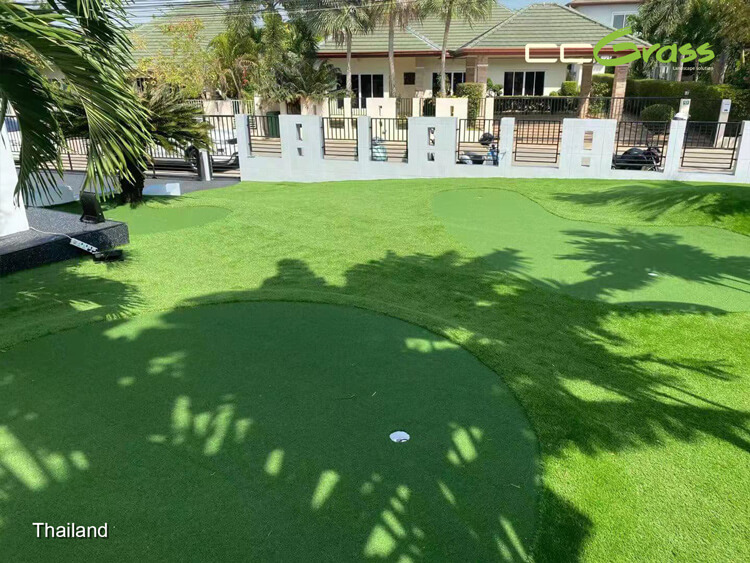
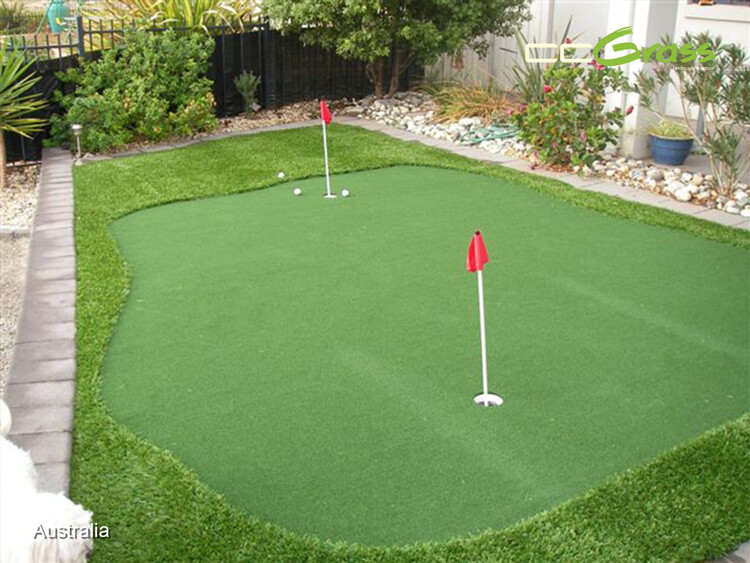
CCGrass’s backyard putting green installations
Conclusion
In conclusion, an artificial putting green is an excellent investment for any golfer looking to hone their skills, entertain guests, or enhance their outdoor living space.
With the right turf, installation, and maintenance, your backyard putting green can provide years of enjoyment for you and your family. So why not start planning your backyard putting green today?
CCGrass high-quality putting green turf is the perfect solution for golf enthusiasts looking to improve their game. As a premier artificial grass supplier with three world-leading factories, CCGrass’s advantages lie in wholesale and factory direct prices. Call us at 86 25 6981 1666 or email us at [email protected] to ask for free samples now!


 Tel:
Tel:  E-mail:
